Objective
This article will give step to step illustration of creating a simple browser for Windows 7 mobile.
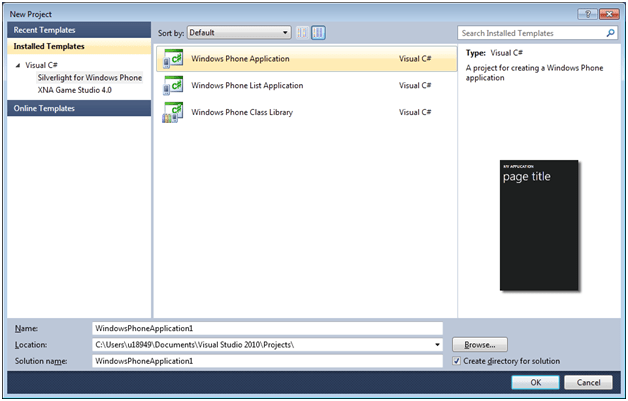
Step 1Create a new Windows Phone Application. From Silverlight for Windows Phone tab select Windows Phone Application project type.
Step 2
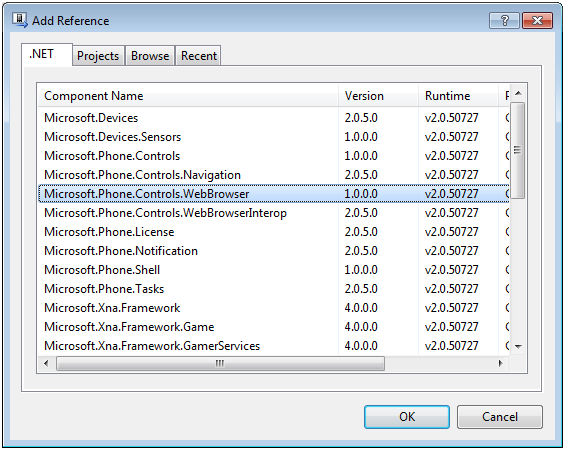
Right click on project and add reference of Microsoft.Phone.Controls.WebBrowser
Step 3
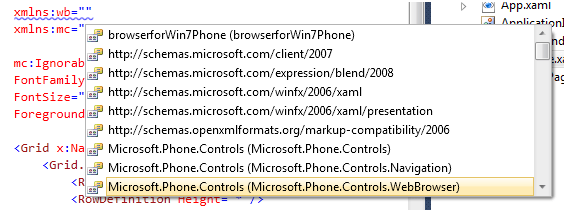
On the XAML page add namespace
xmlns:wb=”clr-namespace:Microsoft.Phone.Controls;assembly=Microsoft.Phone.Controls.WebBrowser”
Step 4
Design page.
- Divide content grid in two rows
- In first row put a textbox and button.
-
In second row put Web Browser control.
MainPage.Xaml
| <phoneNavigation:PhoneApplicationPage x:Class=”browserforWin7Phone.MainPage” xmlns=http://schemas.microsoft.com/winfx/2006/xaml/presentation xmlns:x=http://schemas.microsoft.com/winfx/2006/xaml xmlns:phoneNavigation=”clrnamespace:Microsoft.Phone.Controls; assembly=Microsoft.Phone.Controls.Navigation” |
Step 5
Now in code behind just navigate in click event of button
1 using System;
2 using System.Collections.Generic;
3 using System.Linq;
4 using System.Net;
5 using System.Windows;
6 using System.Windows.Controls;
7 using System.Windows.Documents;
8 using System.Windows.Input;
9 using System.Windows.Media;
10 using System.Windows.Media.Animation;
11 using System.Windows.Shapes;
12 using Microsoft.Phone.Controls;
13 namespace browserforWin7Phone
14 {
15 public partial class MainPage : PhoneApplicationPage
16 {
17 public MainPage()
18 {
19
20 InitializeComponent();
21 SupportedOrientations = SupportedPageOrientation.Portrait;
22 btnGo.Click += new RoutedEventHandler(btnGo_Click);
23 }
24
25 void btnGo_Click(object sender, RoutedEventArgs e)
26 {
27 Uri uri = new Uri(textBox1.Text, UriKind.Absolute);
28 if (uri != null)
29 myBrowser.Navigate(uri);
30 }
31 }
32 }
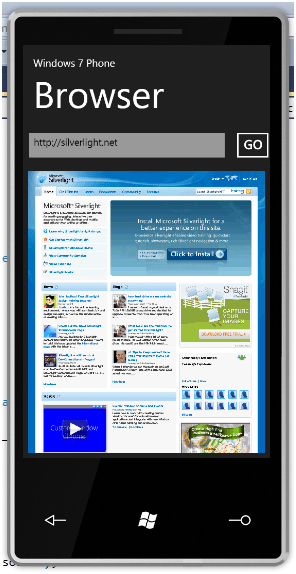
Press F5 to get the output. In textbox give the site URL and press GO button.
I hope this article was useful. Thanks for reading. Happy coding.
Discover more from Dhananjay Kumar
Subscribe to get the latest posts sent to your email.

i m not getting Microsoft.Phone.Controls.WebBrowser dll reference…why ?