Objective
This article will give a pictorial representation of how a SILVERLIGHT application can be hosted and debugged on local development fabric of Windows azure
Note: This article is taken from original article written by JIM and can be read Here
Now a SILVERLIGHT application can be hosted in a Web Role. And on local development fabric application can be debugged also.
Step 1
Add .XAP as MIME type to IIS. To open IIS, click on Start button. After that open Run prompt and type INETMGR.
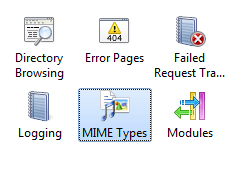
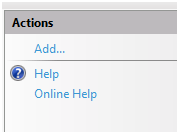
After selecting MIME type from left top corner, select Open Feature from Action tab.
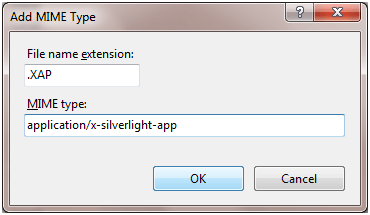
After opening Open Feature from the Action tab select Add
Then add the MIME type.
Step 2
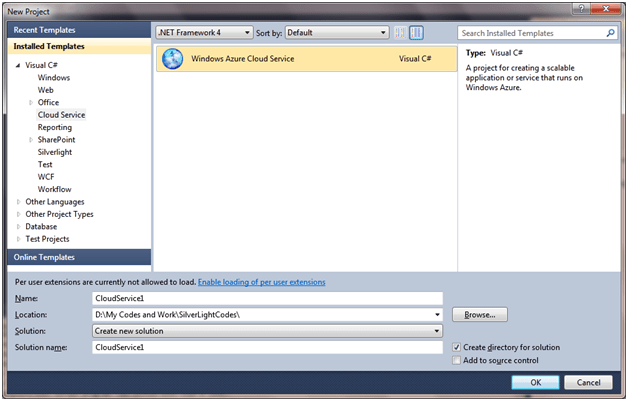
Create Azure service.
Select File -> New -> Cloud Services ->Windows Azure Cloud Service.
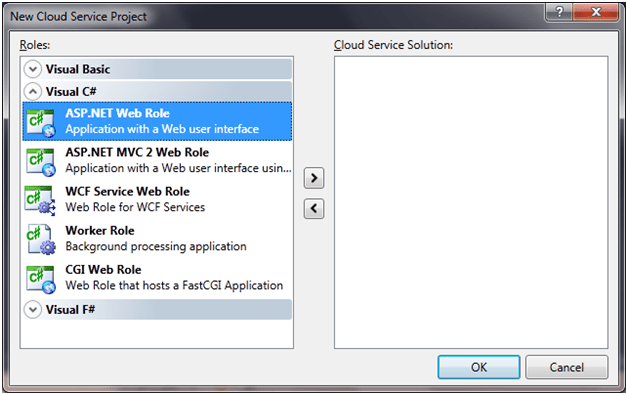
After that select ASP.Net Web Role and click on arrow button.

Step 3
Add a SILVERLIGHT application. Right click on solution then select Add New Projects and select SILVERLIGHT application from SILVERLIGHT tab.

Host the SILVERLIGHT application in existing Web Role.
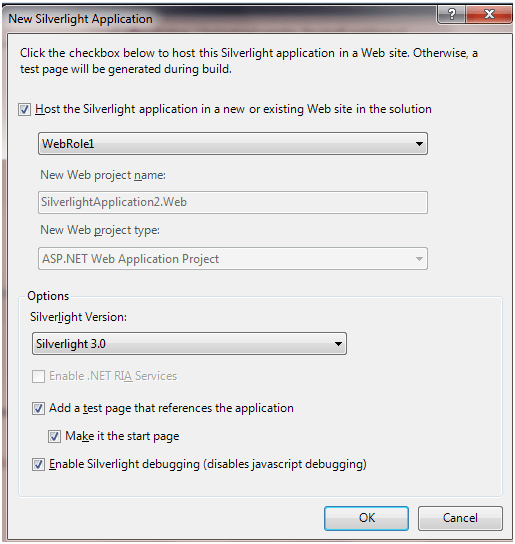
Make sure checkbox for Silverlight debugging is enabled is checked.

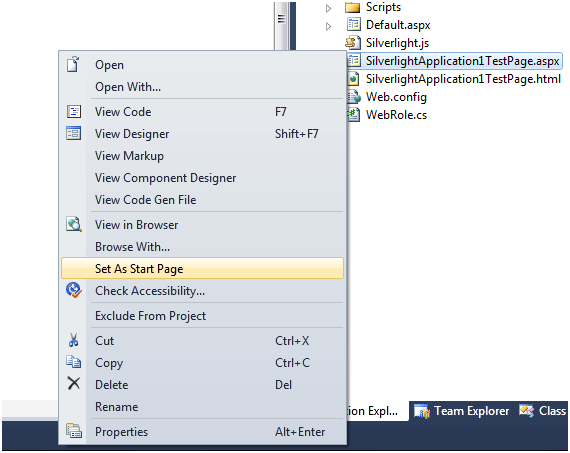
Make Silverlight .aspx page as start page. Select aspx page from WebRole1 project.
Step 5
Add some code in XAML. I am adding a button on Silverlight page and on click event of button , I will display a message in messagebox in debug mode.
MainPage.Xaml
1 using System;
2 using System.Collections.Generic;
3 using System.Linq;
4 using System.Net;
5 using System.Windows;
6 using System.Windows.Controls;
7 using System.Windows.Documents;
8 using System.Windows.Input;
9 using System.Windows.Media;
10 using System.Windows.Media.Animation;
11 using System.Windows.Shapes;
12
13 namespace SilverlightApplication1
14 {
15 public partial class MainPage : UserControl
16 {
17 public MainPage()
18 {
19 InitializeComponent();
20 }
21
22 private void myButton_Click(object sender, RoutedEventArgs e)
23 {
24
25 MessageBox.Show("I am Debugging Silverlight in Azure ");
26
27 }
28 }
29 }
30
<UserControl x:Class=”SilverlightApplication1.MainPage”xmlns=http://schemas.microsoft.com/winfx/2006/xaml/presentation
xmlns:x=http://schemas.microsoft.com/winfx/2006/xaml
xmlns:d=http://schemas.microsoft.com/expression/blend/2008
xmlns:mc=http://schemas.openxmlformats.org/markup-compatibility/2006
mc:Ignorable=”d”
d:DesignHeight=”300″ d:DesignWidth=”400″>
<Grid x:Name=”LayoutRoot” Background=”White”>
<Button x:Name=”myButton” Height=”200″ Width=”300″ Background=”Navy” Content=”ClickMe” Click=”myButton_Click”
/>
</Grid>
</UserControl>
MainPage.Xaml.cs
Output

Step 6
Debugging Silverlight from Azure. Just put a breakpoint in c# code and you would able to debug the Silverlight application hosted in Azure.
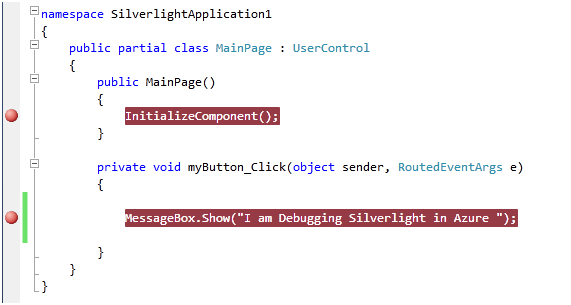
On running,
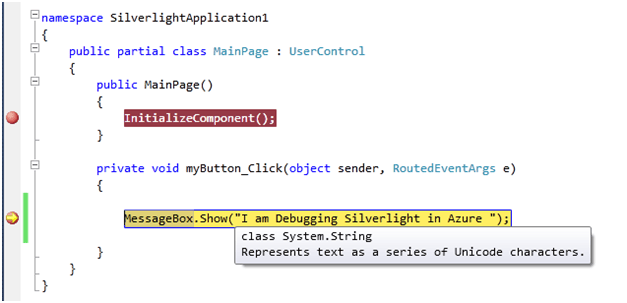
So Silverlight application is in debugging mode.
Conclusion
In this article, I discussed how to host and debug a Silverlight application in Windows azure. Thanks for reading,
Discover more from Dhananjay Kumar
Subscribe to get the latest posts sent to your email.

One thought on “Hosting and Debugging SilverLight in Windows Azure”