Objective
This article will show; how to make an Image Gray in SILVERLIGHT 3.0. This is a very basic article showing ; how to make an image gray in SILVERLIGHT.
Follow the Steps
- Create a new SILVERLIGHT application.
Design the XAML page
- Create two rows
- In first row put an Image using Image control.
- A.jpg is an existing image in application. I added this image by choosing Add Existing Item option.
- In 2nd row put a stack panel. Make orientation to horizontal.
- Put two buttons in stack panel. Purpose of one button is to make image gray and other to bring original image back.
MainPage.Xaml
| <UserControl x:Class=”BehaviorSample1.MainPage” xmlns=http://schemas.microsoft.com/winfx/2006/xaml/presentation xmlns:x=http://schemas.microsoft.com/winfx/2006/xaml xmlns:d=”http://schemas.microsoft.com/expression/blend/2008″ xmlns:mc=http://schemas.openxmlformats.org/markup-compatibility/2006 mc:Ignorable=”d” d:DesignWidth=”640″ d:DesignHeight=”480″> <Grid x:Name=”LayoutRoot” Height=”Auto” Width=”Auto” Background=”Black”> <Grid.RowDefinitions><RowDefinition Height=”4*”/> <RowDefinition Height=”*” /> </Grid.RowDefinitions> <Image x:Name=”myImage” Height=”Auto” Width=”Auto” Source=”a.jpg” Grid.Row=”0″/> <StackPanel Orientation=”Horizontal” Grid.Row=”1″> <Button x:Name=”btnMakeGray” Content=”Make Gray” Height=”50″ Width=”150″ HorizontalAlignment=”Center”/> <Button x:Name=”btnMakeOriginal” Content=”Make Original” Height=”50″ Width=”150″ HorizontalAlignment=”Center” /> </StackPanel> </Grid></UserControl> |
Function to make an Image Gray
- WriteableBitmap
class is used to change color of image in SILVERLIGHT. - Function is returning instance of this class.
- In function we are looping through height of the image and nesting through width of the image.
- Color of each pixel is being changed in the loop.
-
We will assign instance of WriteableBitmap class as source of image.
| WriteableBitmap MakeGray(Image img){
WriteableBitmap bitmap = new WriteableBitmap(img, null); |
Code for the Events
Add events to buttons at the page load.
- On click event of btnMakeGray button call MakeGray function.
- On click event of btnMakeOriginal button bind image with original source.
MainPage.Xaml.cs
| using System;
using System.Collections.Generic; using System.Linq; using System.Net;using System.Windows; using System.Windows.Controls; using System.Windows.Documents; using System.Windows.Input; using System.Windows.Media; using System.Windows.Media.Animation; using System.Windows.Shapes; using System.Windows.Media.Imaging; namespace BehaviorSample1{ public partial class MainPage : UserControl{ public MainPage(){ |
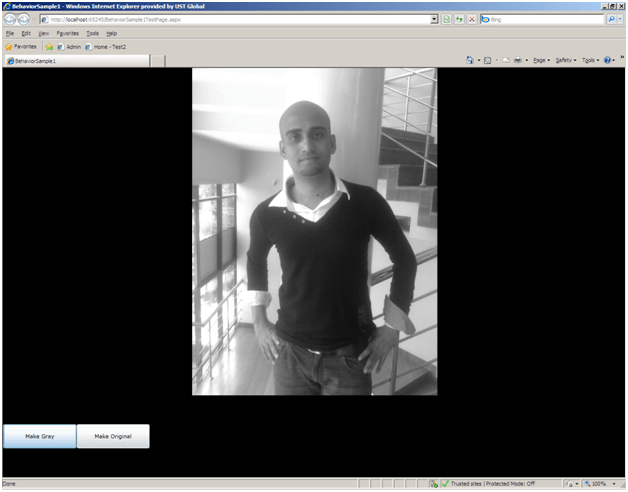
Output
Discover more from Dhananjay Kumar
Subscribe to get the latest posts sent to your email.

Hi Dhananjay..
I have tried ur this article,its working good for gray the image but not working for back to original one..