Objective
This article will show how to upload a file from client to server location in ASP.Net MVC application in 5 easy steps.
Step 1Create an ASP.Net MVC application.
File->New->Project->web->ASP.Net MVC Application
Step 2
Creating controller
- Right click on Controller folder and add a new controller.
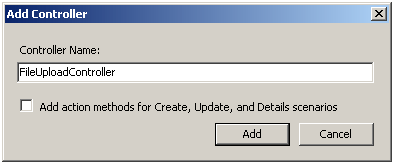
FileUpload is name of the controller here. Don’t check the checkbox.
Description of HttpPostedFileBase class
For uploading the file in specified path at server HttpPostedFileBase
class from System.Web namespace would be used.
HttpPostedFileBase class
- This contains 4 properties
- This contains one virtual method.
- FileName property will be used to fetch the file name of the file.
-
SaveAs method will be used to save the file at server location.
using System;
using System.IO;
namespace System.Web
{
public
abstract
class
HttpPostedFileBase
{
protected HttpPostedFileBase();
public
virtual
int ContentLength { get; }
public
virtual
string ContentType { get; }
public
virtual
string FileName { get; }
public
virtual
Stream InputStream { get; }
public
virtual
void SaveAs(string filename);
}
}
- Type the below code in controller. This code will save the file at server. Location of the saved file would be E:\Temp directory.
FileUploadController.cs
using System;
using System.Collections.Generic;
using System.Linq;
using System.Web;
using System.Web.Mvc;
using System.Web.Mvc.Ajax;
using System.IO;
namespace FileUploadSample.Controllers
{
public
class
FileUploadController : Controller
{
public
ActionResult Edit()
{
return View();
}
public
ActionResult Upload(HttpPostedFileBase file)
{
var fileName = Path.GetFileName(file.FileName);
file.SaveAs(@”E:\Temp\”+fileName);
return RedirectToAction(“Index”);
}
public
ActionResult Index()
{
return Redirect(“Home/Index”);
}
}
}
Step 3
Creating view
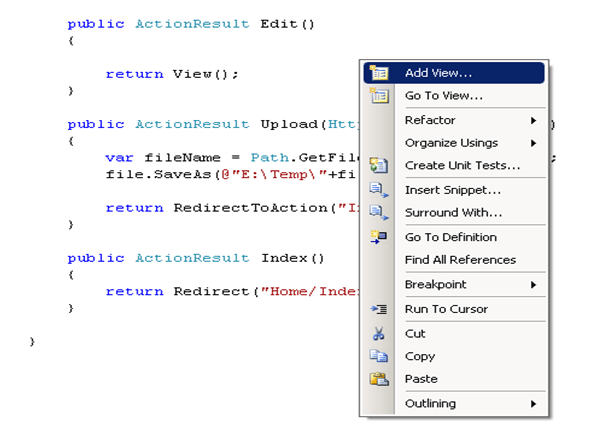
- Right click on Edit action and select Add view
-
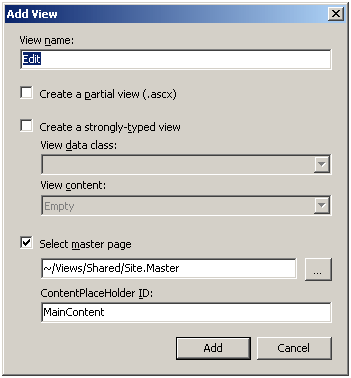
Leave the default setting
-
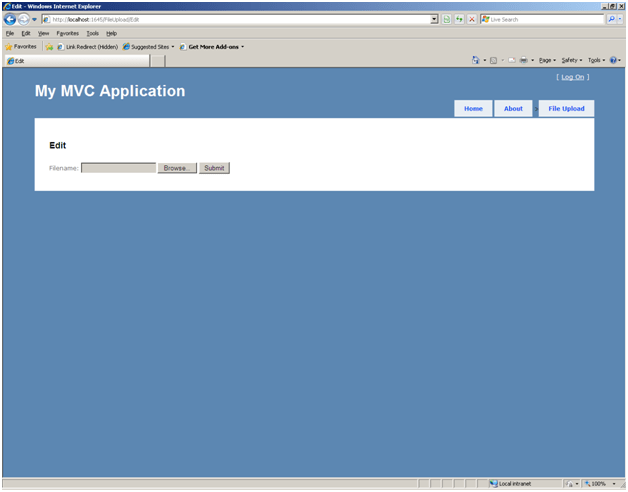
In Edit.aspx, inside a content place holder, include the following Html tag. This is including control for file to upload.
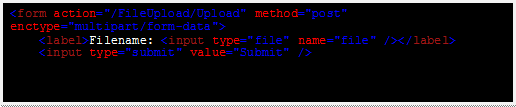
If you see the action parameter for form, it is URL for the action which is actually uploading the file at server.
- Entire Edit.aspx will look like
Edit.aspx
<%@
Page
Title=””
Language=”C#”
MasterPageFile=”~/Views/Shared/Site.Master”
Inherits=”System.Web.Mvc.ViewPage”
%>
<asp:Content
ID=”Content1″
ContentPlaceHolderID=”TitleContent”
runat=”server”>
Edit
</asp:Content>
<asp:Content
ID=”Content2″
ContentPlaceHolderID=”MainContent”
runat=”server”>
<h2>Edit</h2>
<form
action=”/FileUpload/Upload”
method=”post”
enctype=”multipart/form-data”>
<label>Filename: <input
type=”file”
name=”file”
/></label>
<input
type=”submit”
value=”Submit”
/>
</asp:Content>
Step 4
Adding link at the main page for file uploading
- Open site.master in Views->Shared Folder
-
Add below line in menu tag

-
So the menu element will look like,
<div
id=”menucontainer”>
<ul
id=”menu”>
<li><%= Html.ActionLink(“Home”, “Index”, “Home”)%></li>
<li><%= Html.ActionLink(“About”, “About”, “Home”)%></li>
<li>><%=Html.ActionLink(“File Upload”,“Edit”,“FileUpload”) %></li>
</ul>
</div>
</div>
Step 5
Press F5 to run with debug
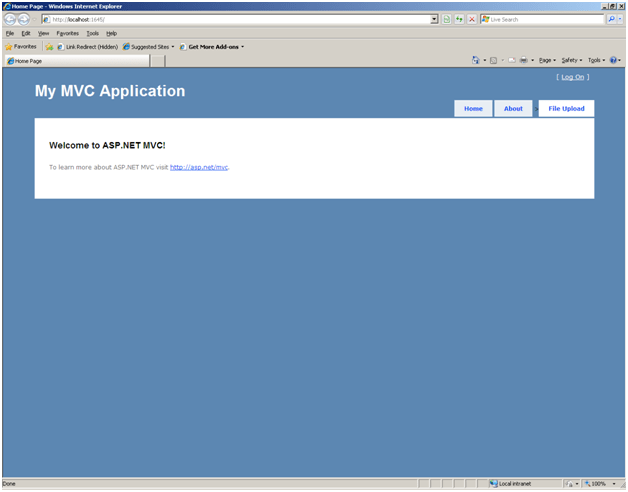
Click on File Upload
Conclusion
This article showed how to upload a file from client to server location in ASP.Net MVC application.
Happy Coding
Discover more from Dhananjay Kumar
Subscribe to get the latest posts sent to your email.

I am getting error “/FileUpload/Upload” not fount.