Objective
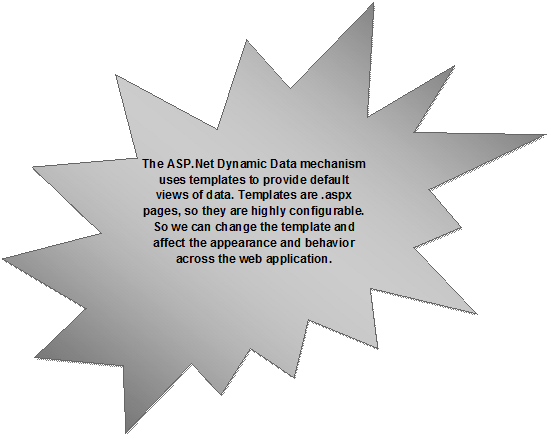
This is Part#2 of ASP.Net Dynamic Data article series. This article will give introductions of different scaffold templates. This article will explain how to customize the templates also. This article is containing three samples which is demonstrating, how to update the default templates.
- We could customize the templates given as default with ASP.Net Dynamic Data web application template.
- All the default templates are highly configurable.
- All the templates are user control.
-
None of templates contain table specific code. These are very much generic in nature.
Open the Project, which we created in Part#1 of this series
.
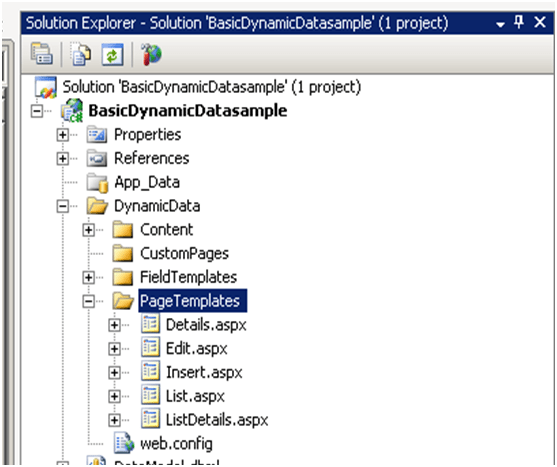
- Solution folder is containing a folder called DynamicData
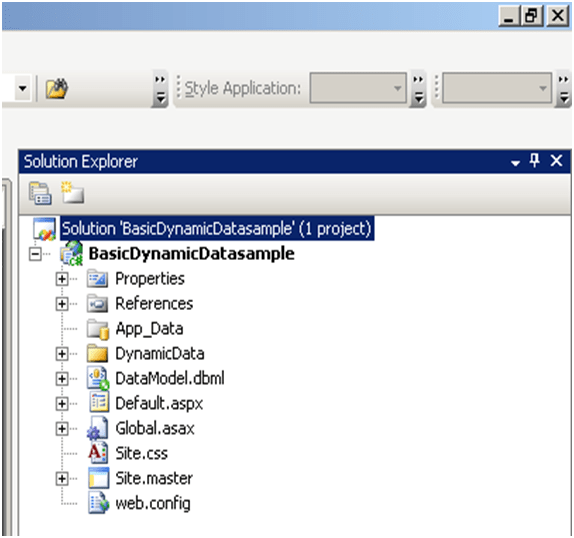
- This folder contains all the templates and user controls related to CRUD operations.
-
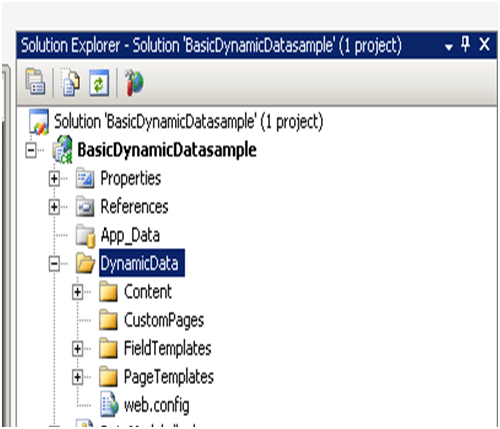
Explore the DynamicData folder. It contains 4 subfolders
- Solution folder is containing a folder called DynamicData
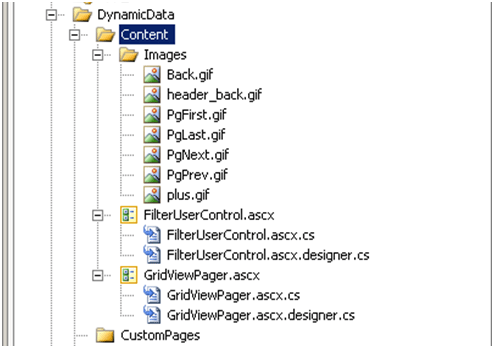
Content folder
This folder contains all the Image and Grid view resource. If we want to change the images for navigation buttons, that images should be updated here .
CustomPages folder
This folder contains all the custom templates for the custom pages.
FieldTemplate folder
- This folder contains user controls for different data types.
-
There are two types of controls. One to view that particular data types other to edit them.

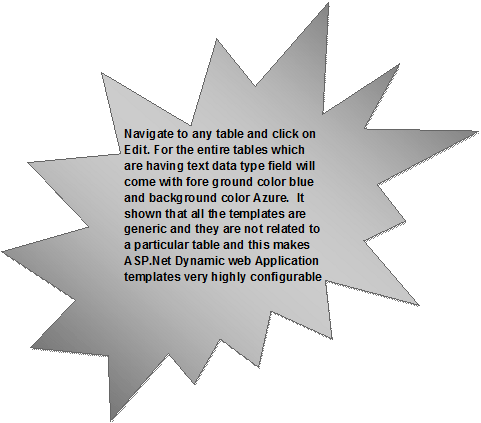
Sample # 1
We will change Foreground color of all text while editing for all tables to blue. And background color to Azure.
Step1: click on Text_Edit.ascx
Step2: Modify the mark up. Here basically Edit text box is adhering CSS style written in CSS file.
<%@
Control
Language=”C#”
CodeBehind=”Text_Edit.ascx.cs”
Inherits=”BasicDynamicDatasample.Text_EditField”
%>
<asp:TextBox
ID=”TextBox1″
runat=”server”
Text=’<%# FieldValueEditString %>‘
CssClass=”droplist”
ForeColor=Blue
BackColor=Azure >
</asp:TextBox>
<asp:RequiredFieldValidator
runat=”server”
ID=”RequiredFieldValidator1″
CssClass=”droplist”
ControlToValidate=”TextBox1″
Display=”Dynamic”
Enabled=”false”
/>
<asp:RegularExpressionValidator
runat=”server”
ID=”RegularExpressionValidator1″
CssClass=”droplist”
ControlToValidate=”TextBox1″
Display=”Dynamic”
Enabled=”false”
/>
<asp:DynamicValidator
runat=”server”
ID=”DynamicValidator1″
CssClass=”droplist”
ControlToValidate=”TextBox1″
Display=”Dynamic”
/>
Step3: We are just overriding definition of CSS file on Edit Text Box.
Step4: Press F5 and run the application. Make sure Start up project is Default.aspx.
Page Templates folder
- This folder contains user controls for different pages corresponding to a specific CRUD operation.
- Page templates are generic for all the tables.
- Any changes done on these templates will affect all the table listing in the Datamodel.
| Page Templates | Descriptions |
| Details.aspx | Provides a detail view of a single Row of a table |
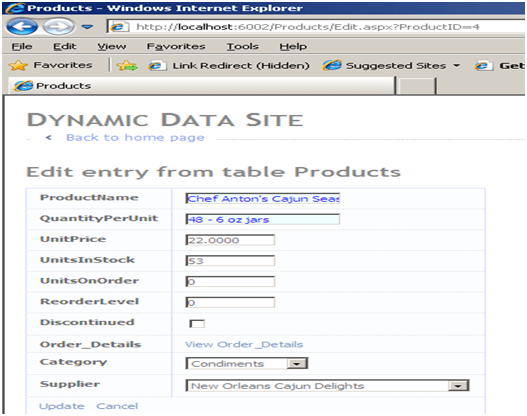
| Edit.aspx | Provide interface for edit a row of a table |
| Insert.aspx | Provide interface for inserting a row in the table |
| List.aspx | Display a list of rows from a table |
| ListDetails.aspx | Displays list of records with relationship. |
All the default page templates are having following common features
- They use the same master page named as Site.master.
- All the page templates contain Updatepanel control to enable partial rendering.
- All page templates contain DynamicDatamanager control to accommodate dynamic behavior of the data.
Sample # 2
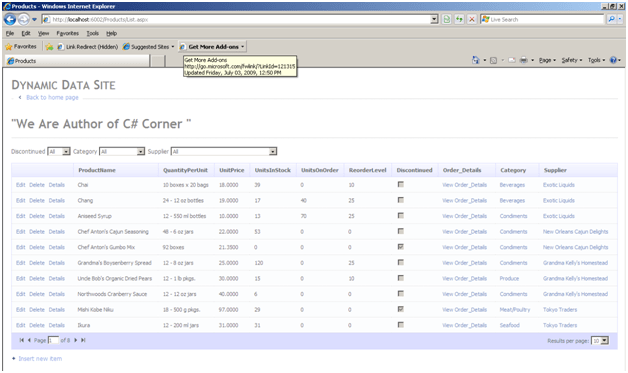
We will change Table name heading while navigating to a particular table to
“We are Authors of C# Corner.com “. See below image, we are going to change Product (table name header).
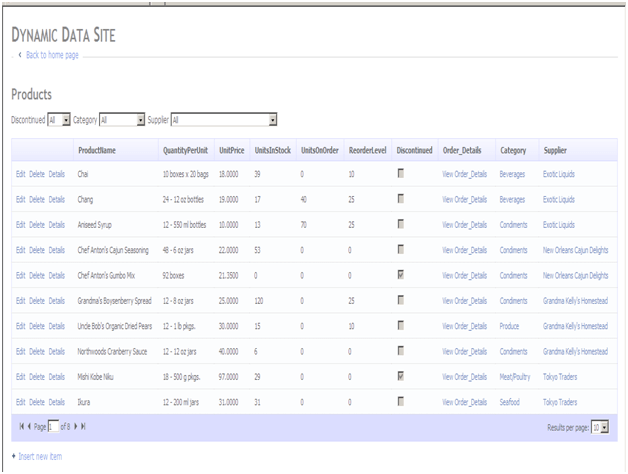
- Click on List.aspx in PageTemplates folder. This is the generic template for listing records from all the tables.
-
In markup you will find
<h2><%= table.DisplayName%></h2>
We need to change this to “We are Authors of C# Corner.com “. Just replace the markup as
<h1> We are Authors of C# Corner.com </h1>
-
Press F5 and navigate to any table.
Sample # 3
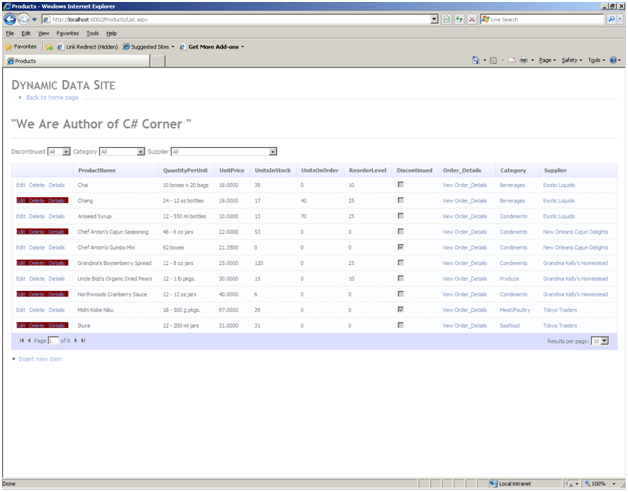
We will change color of alternate row in the Grid. We will change each alternate row’s color to maroon.
- Open List.aspx file
-
Update the GridView markup as below.
<asp:GridView
ID=”GridView1″
runat=”server”
DataSourceID=”GridDataSource”
AllowPaging=”True”
AllowSorting=”True”
CssClass=”gridview”>
<Columns>
<asp:TemplateField>
<ItemTemplate>
<asp:HyperLink
ID=”EditHyperLink”
runat=”server”
NavigateUrl=’<%# table.GetActionPath(PageAction.Edit, GetDataItem()) %>‘
Text=”Edit”
/> <asp:LinkButton
ID=”DeleteLinkButton”
runat=”server”
CommandName=”Delete” CausesValidation=”false”
Text=”Delete” OnClientClick=’return confirm(“Are you sure you want to delete this item?”);’/> <asp:HyperLink
ID=”DetailsHyperLink”
runat=”server”
NavigateUrl=’<%# table.GetActionPath(PageAction.Details, GetDataItem()) %>‘Text=”Details”
/></ItemTemplate>
<AlternatingItemTemplate>
<div
style=”background-color:Maroon”>
<asp:HyperLink
ID=”EditHyperLink”
runat=”server”
NavigateUrl=’<%# table.GetActionPath(PageAction.Edit, GetDataItem()) %>‘Text=”Edit”
/> <asp:LinkButton
ID=”DeleteLinkButton”
runat=”server”
CommandName=”Delete”
CausesValidation=”false”
Text=”Delete”
OnClientClick=’return confirm(“Are you sure you want to delete this item?”);’
/> <asp:HyperLink
ID=”DetailsHyperLink”
runat=”server”
NavigateUrl=’<%# table.GetActionPath(PageAction.Details, GetDataItem()) %>‘Text=”Details”
/>
</div>
</AlternatingItemTemplate>
</asp:TemplateField>
</Columns>
- Update the markup with the tag in rectangle above.
- Press F5 to run the application.
Above article explained about customizing the default templates.
Happy Coding
Discover more from Dhananjay Kumar
Subscribe to get the latest posts sent to your email.
