- Create a website project. Make it a file system based web site.
-
In the File menu , choose either WebSite. Select ASP.Net Web Site in the Templates pane.
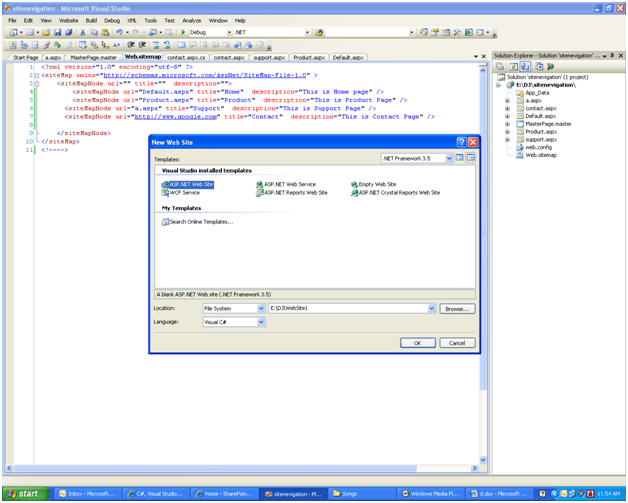
- Change the Name to NavigationSite and click OK.
-
Delete Default page from the application. Why we are deleting Default page because it would be easier to implement master page.
To remove the page, select it from Solution Explorer and press the DELETE key. Visual studio will ask for confirmation, press YES.
-
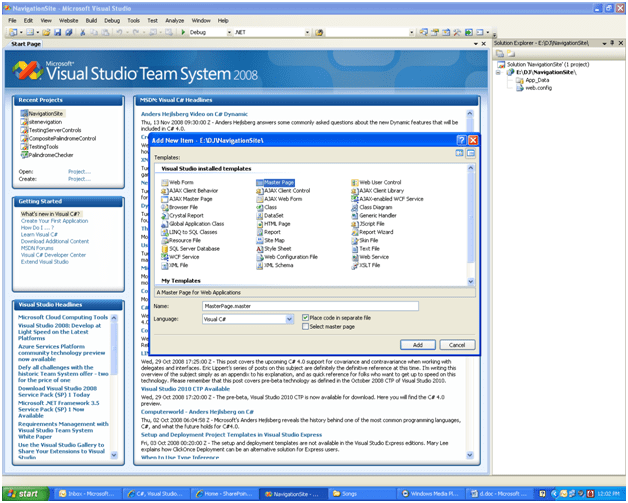
Create a Master page for the Web Site. Click the right mouse button on the Project node to solution and select Add New Item. Choose Master Page from the template. Keep default name. Click ADD.
-
Add Several Pages Based on the Master Page. I am going to add four pages here.
Default
Right
Left
Center
Home
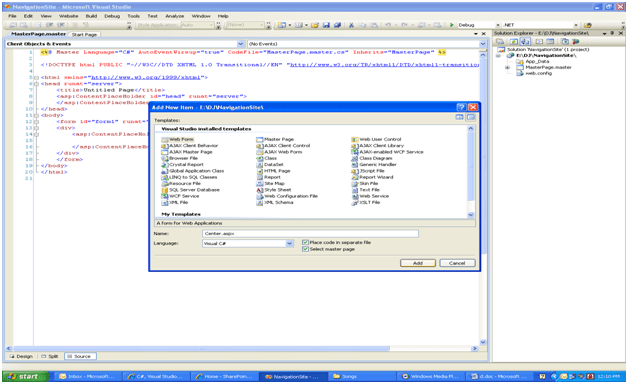
To add a page, click right mouse button on Project and select Add New Item. Choose Web Page from template. Make sure one thing the Select Master Page check box in checked as you select in the template. By doing this Master page will get apply automatically on each page.
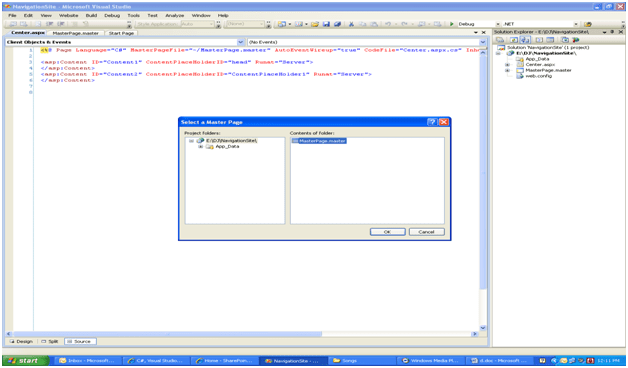
After clicking add button, new dialog box will appear, select Master Page and click Ok there.
While adding page give name as Center.aspx, Right.aspx, Left.aspx and Home.aspx.
-
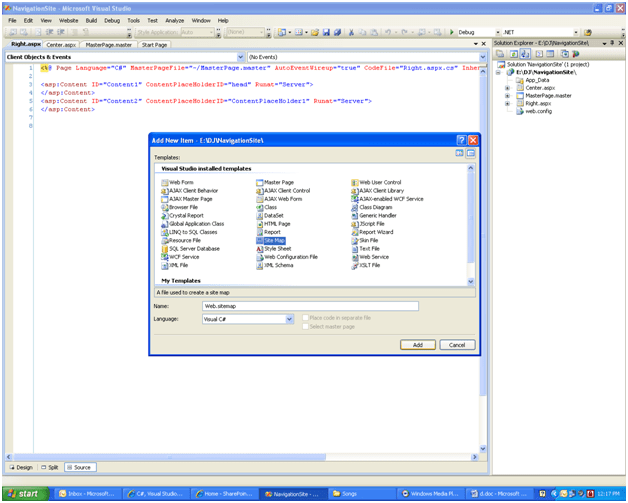
Add a New Site Map to the Project. Click the right mouse button on the project in solution explorer . Select Site Map from the template. Keep the name Web.sitemap as it is. This is default name for Site map.
-
Write code for Site Map. To write code for Site Map click on Web.sitemap in solution explorer. Code window will open for Web.sitemap. By default below code will appear
<?xml
version=“1.0“
encoding=“utf-8“ ?>
<siteMap
xmlns=“http://schemas.microsoft.com/AspNet/SiteMap-File-1.0“ >
<siteMapNode
url=“”
title=“”
description=“”>
<siteMapNode
url=“”
title=“”
description=“” />
<siteMapNode
url=“”
title=“”
description=“” />
</siteMapNode>
</siteMap>
Modify above code accordingly , like below.
<?xml
version=“1.0“
encoding=“utf-8“ ?>
<siteMap
xmlns=“http://schemas.microsoft.com/AspNet/SiteMap-File-1.0“ >
<siteMapNode
url=“Home.aspx“
title=“HOME“
description=“This is My Home“>
<siteMapNode
url=“Right.aspx“
title=“Right Rotation“
description=“This is Right Window“ />
<siteMapNode
url=“Left.aspx“
title=“Left Rotation “
description=“This is Left Window“ />
<siteMapNode
url=“Center.aspx“
title=“Center Rotation “
description=“This is Center Window“ />
</siteMapNode>
</siteMap>
In above code all pages are being added to siteMapNode.
- Click on Home.Aspx in Solution explorer. Sleect design view . Drag menu from ToolBox and drop it on the Home.aspx page.
-
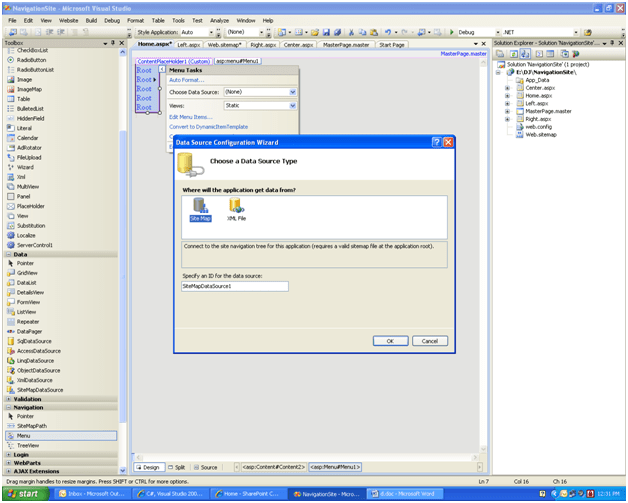
Click on arrow button
of menu or select its property . Click on Choose Data source then select New Data Source. After new Data source select SiteMap and press ok.
Now add few images in site. Right click on Project . click add existing item. Then browse to add four images in the project.
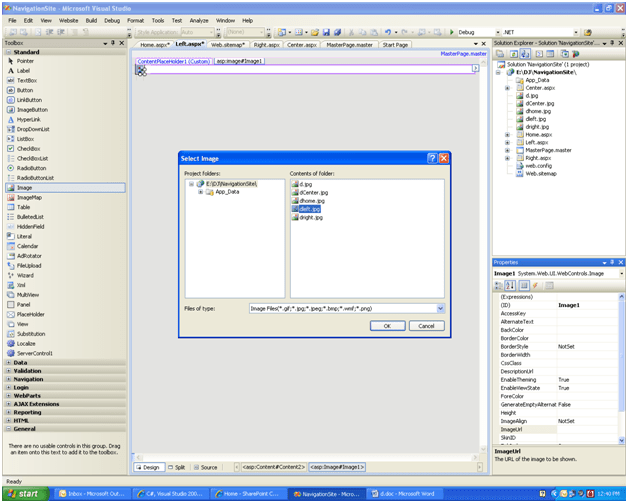
- Drag a Image Control on Left.aspx , Right.aspx, center.aspx and Home.aspx.
-
Select property of Image Control. Click on Image Url then select any image .
-
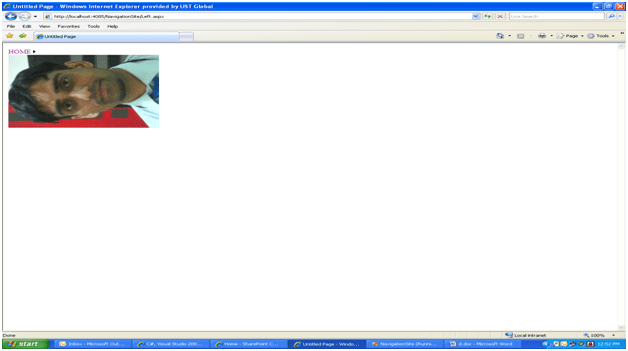
After adding image run the Project or browse the website in browser. Output will come like below.
Discover more from Dhananjay Kumar
Subscribe to get the latest posts sent to your email.
