Objective
In this article, I am going to give a basic introduction of Mouse wheel event in Silver Light 4.0.
Introduction
Silver Light 4.0 has been introduced Mouse wheel event. Now on mouse wheel event can be captured. And the event can be raised for any silver light control.
In below image you can see, MouseWheel event has been included.

If you see the description above it is saying
“This event occurs, when user rotates the mouse wheel while pointer is over a UI Elements ”
Sample
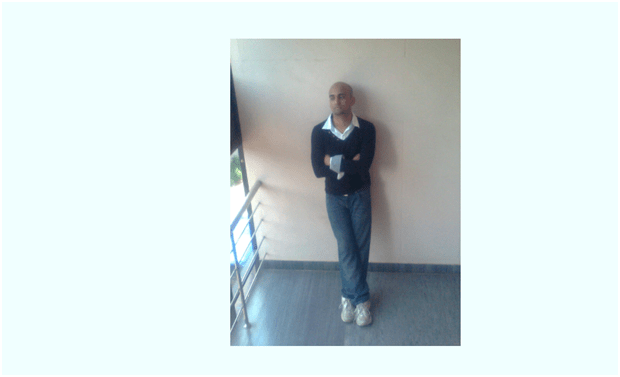
I have an image on my silver light page.
<UserControl x:Class=”MouseWheelevent.MainPage”
xmlns=”http://schemas.microsoft.com/winfx/2006/xaml/presentation”
xmlns:x=”http://schemas.microsoft.com/winfx/2006/xaml”
xmlns:d=”http://schemas.microsoft.com/expression/blend/2008″
xmlns:mc=”http://schemas.openxmlformats.org/markup-compatibility/2006″
mc:Ignorable=”d”
d:DesignHeight=”300″ d:DesignWidth=”400″>
<Grid x:Name=”LayoutRoot” Background=”Azure” Height=”auto” Width=”auto”>
<Image x:Name=”MyImage” Width=”300″ Height=”400″ Source=”a.jpg” />
</Grid>
</UserControl>
Output of above
Now we are going to resize the image on mouse wheel event.
Adding Mouse Wheel event with image
MyImage.MouseWheel += newMouseWheelEventHandler(mymousewheelevent);
Handling the event
void mymousewheelevent(object sender, MouseWheelEventArgs e)
{
double height = MyImage.Height;double width = MyImage.Width;
int delta = e.Delta;
height += delta;
width += delta / 2;
MyImage.Height = height > 650 ? 400 : height;
MyImage.Width = width > 600 ? 300 : width;
}
Explanation
- Just saving current height and width in variables.
- Using Delta method on event args , change could be captured.
- Then just setting the dimension of image with some logic.
Output
Click on image and scroll the mouse ball. Image size will be change.
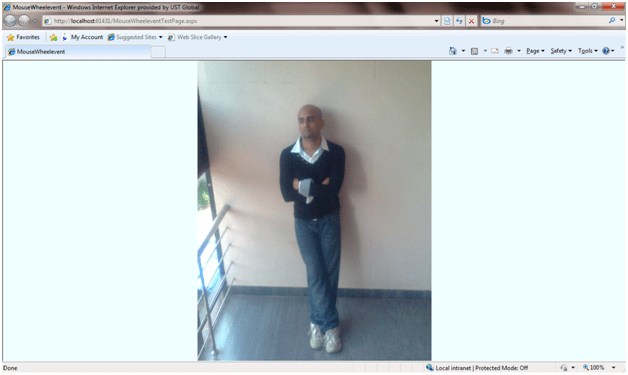
So, we can attach the Mouse wheel event with any control.
Conclusion
In this article, I gave basic introduction of MouseWheel event in Silver Light 4.0. Thanks for reading.
Discover more from Dhananjay Kumar
Subscribe to get the latest posts sent to your email.

I m new to silverlight and ur blog helps me a lot.
Thank you.
continue rocking boss……