In this post we will create a Windows Azure Website in 6 simple steps. Windows Azure Website is a new feature of Windows Azure and got introduced on 7th June.
Step 1
Very first you need to Login to Windows Azure Management Portal. After successful login from the left panel, click on WEB SITES.
Step 2
Next click on CREATE A WEBSITE
Step 3
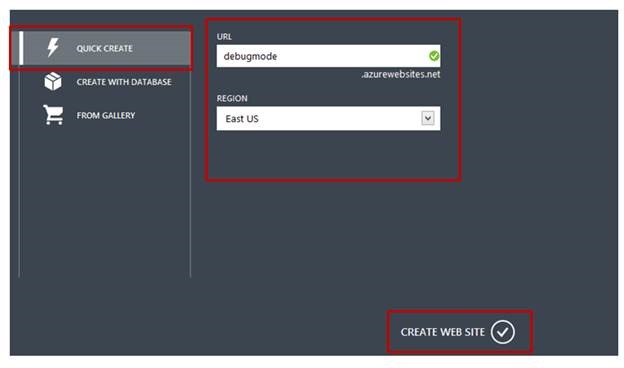
You can create a WebSite in three ways
- Quick Create
- Create with DataBase
- From Gallery
In this post we are creating Site using Quick Create WebSite option.
We have provided URL and selected the region to host the website.
Step 4
After successfully creating website click on Name of the website.
On clicking DASHBOARD will be open. On Dashboard you can see all the details about the website. From quick glance section select option of Download publish profile.
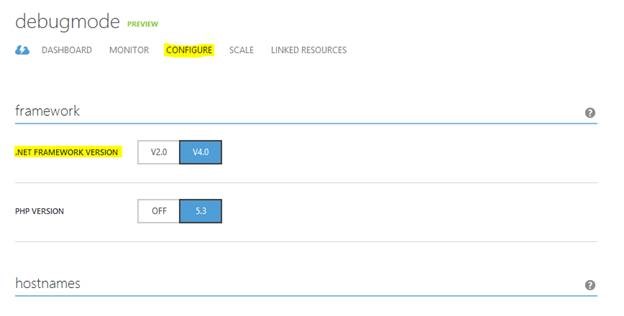
Make sure in the Configure tab .Net Framework version is selected to V4.0
Step 5
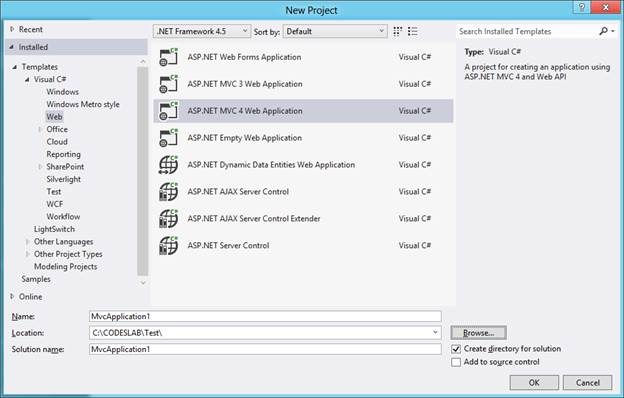
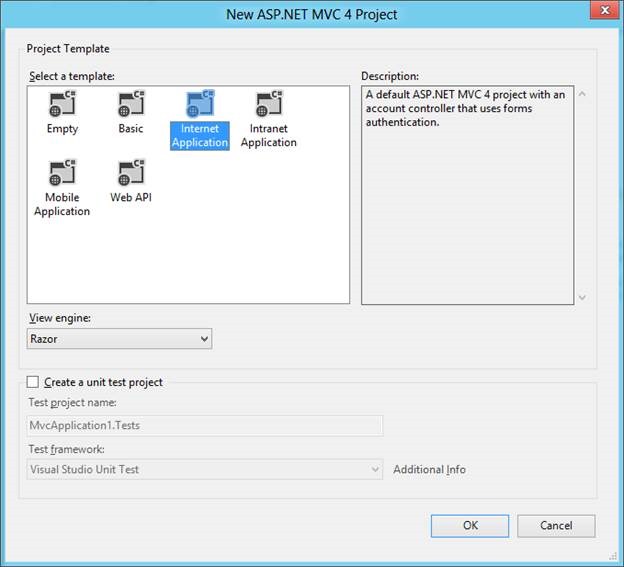
Open Visual Studio and create a new ASP.Net MVC 4.0 Application.
Choose project template as Internet Application.
Step 6
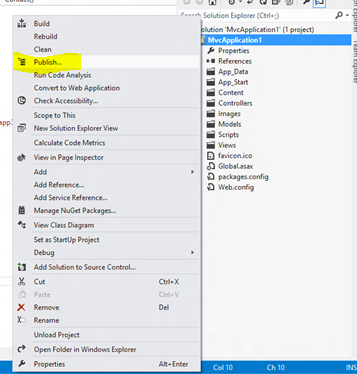
You can edit website per your requirement. In this post our purpose is to learn publishing the ASP.NET MVC Internet Application in Windows Azure website. For that right click on the project and choose publish
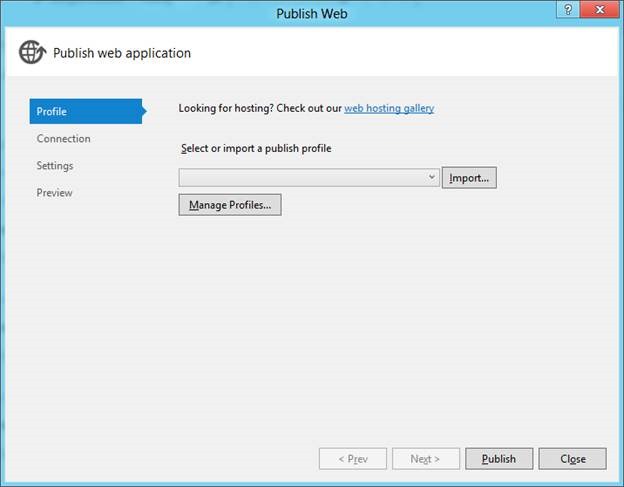
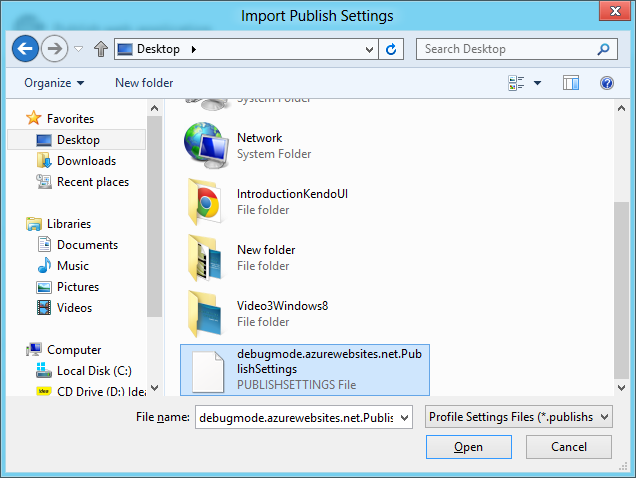
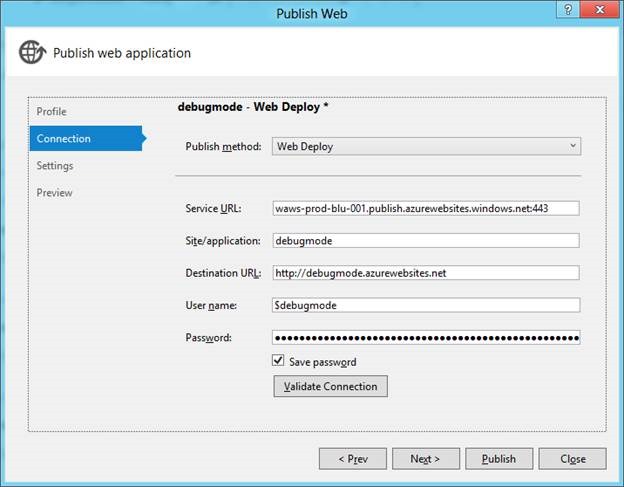
Next we need to import publish file. Click on import button and choose file we downloaded previously in step 4.
Select publish file to import.
You will notice all the settings have been imported. Click on Publish to publish ASP.Net MVC Application to Windows Azure website.
After successful publish operation Windows Azure website will be open in default browser.
Follow @debug_mode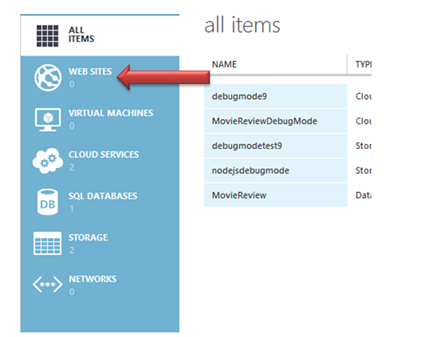



Leave a comment