In this section, we’ll begin working with NestJS. This part of the learning series covers the following topics:
- Installation
- Creating the First Controller
- Creating the First Service
- Adding a GET Endpoint
- Adding a POST Endpoint
For now, we will manage data using a JavaScript array. In future sections, we’ll learn how to connect to a database.
Installation
To begin developing with Nest, verify that the following items are installed on your development machine:
- NodeJS version 20 or above
- Nest CLI
To start developing with Nest on your local machine, make sure that the latest version of Node.js is installed. Whether Node.js is installed or not, you can find it using the command below on the terminal.
node -v
If Node.js is installed, you should get the version returned. If you do not get the version number, install Node.js on your local machine.
After the successful installation of Node.js, install Nest CLI by running the below command:
npm i -g @nestjs/cli
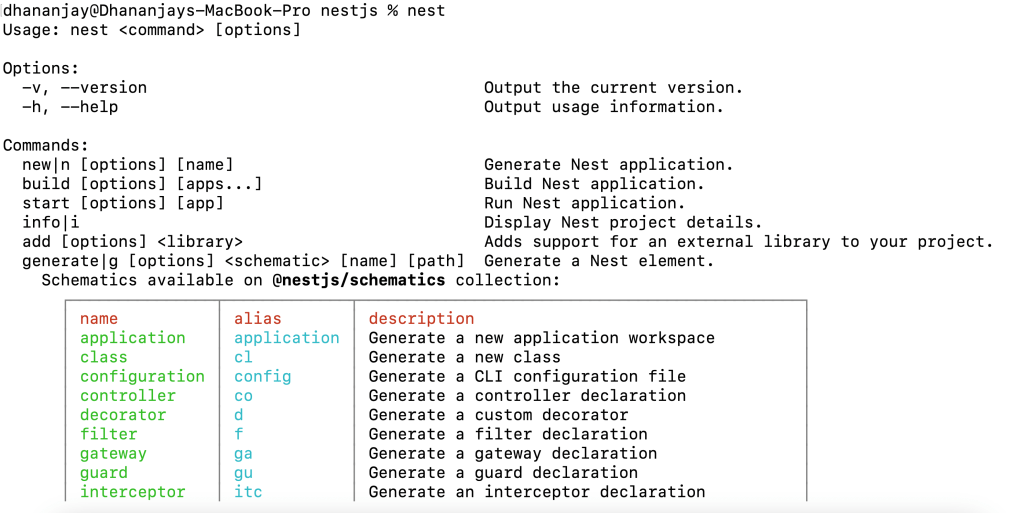
To validate whether Nest CLI is successfully installed, run the command nest in the terminal, and you should get the following output.
Read the full article here https://www.telerik.com/blogs/learning-nestjs-part-1-getting-started
Thanks for reading.
Discover more from Dhananjay Kumar
Subscribe to get the latest posts sent to your email.
