To understand narrowing, let’s begin with a problem scenario. Suppose you’re working with a custom type called myType, which is defined as a union of string and null.
type mytype = string | null;
let a: mytype = "FOO";
console.log(a!.toLowerCase()); // foo
The code above should print “foo” in lowercase.
Now, if you set the variable a to null, that’s allowed because a is of type myType, which can be either a string or null.
type mytype = string | null;
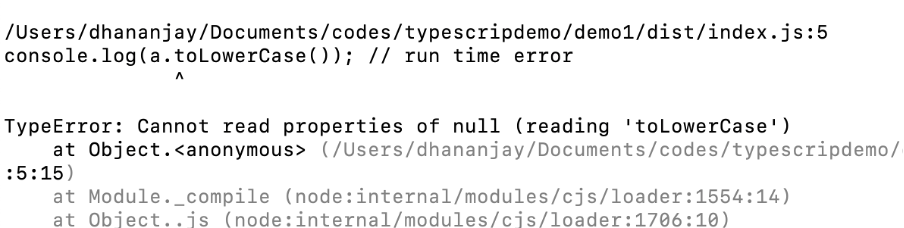
let a: mytype = null;
console.log(a!.toLowerCase()); // run time error The code above will cause a runtime error, as shown in the image below.
By using TypeScript’s narrowing feature, you can avoid the above runtime error. Some advantages of using narrowing are as follows:
- Type Safety: Make sure you only use properties or existing methods for the type you’re working with.
- Better Suggestions: Code editor gives smarter autocomplete and warnings.
- Cleaner Code: You don’t need to manually tell the code what type something is as often.
- Fewer Bugs: Helps catch errors at compile time and avoid unwanted runtime errors
TypeScript uses type guards to narrow down the type of a variable. These guards can be based on:
- The typeof checks
- The instanceOf checks
- Control follow analysis
- Custom type predicates
Using the typeof checks, you can perform narrowing as shown below,
type mytype = string | null;
let a: mytype = null;

if (typeof a === "string") {
    console.log(a.toLowerCase());
} else {
    console.log("Value is null");
}
In the last post, we discussed using the Custom Predicate for narrowing. Read in detail about that here
In the next post, we will discuss using instanceOf for narrowing. In the summary, some points to remember about narrowing are
- You perform narrowing on Union Types.
- It allows TypeScript, to infer the correct type of a variable in given control flow
- It helps in avoiding runtime errors.
I hope you find this post helpful. Thanks for reading this post.
Discover more from Dhananjay Kumar
Subscribe to get the latest posts sent to your email.
